Removing a background in Photoshop is one of the most common editing tasks, but Photoshop's layered tools can feel overwhelming if you're not already familiar with them. In this guide, we'll walk you through exactly how to remove background in Photoshop using the Select Subject and Quick Selection tools, step by step, with no prior editing experience required. By the end, you'll know how to isolate any subject cleanly and export it with a transparent background. We'll also show you a faster alternative for when you just need a quick result without opening Photoshop at all.
What's Needed Before Starting
Any recent version of Photoshop (CC 2020 or later) works well for this guide, since that's when Adobe's AI-powered Select Subject tool became reliable enough for everyday use. Older versions can still follow along using the Quick Selection and Pen tools instead. As with any background-removal task, a subject with reasonably defined edges — hair, fur, and busy backgrounds tend to make manual cleanup slower.
Step-by-Step: How to Remove Background in Photoshop
Step 1 — Open the Image and Duplicate the Layer
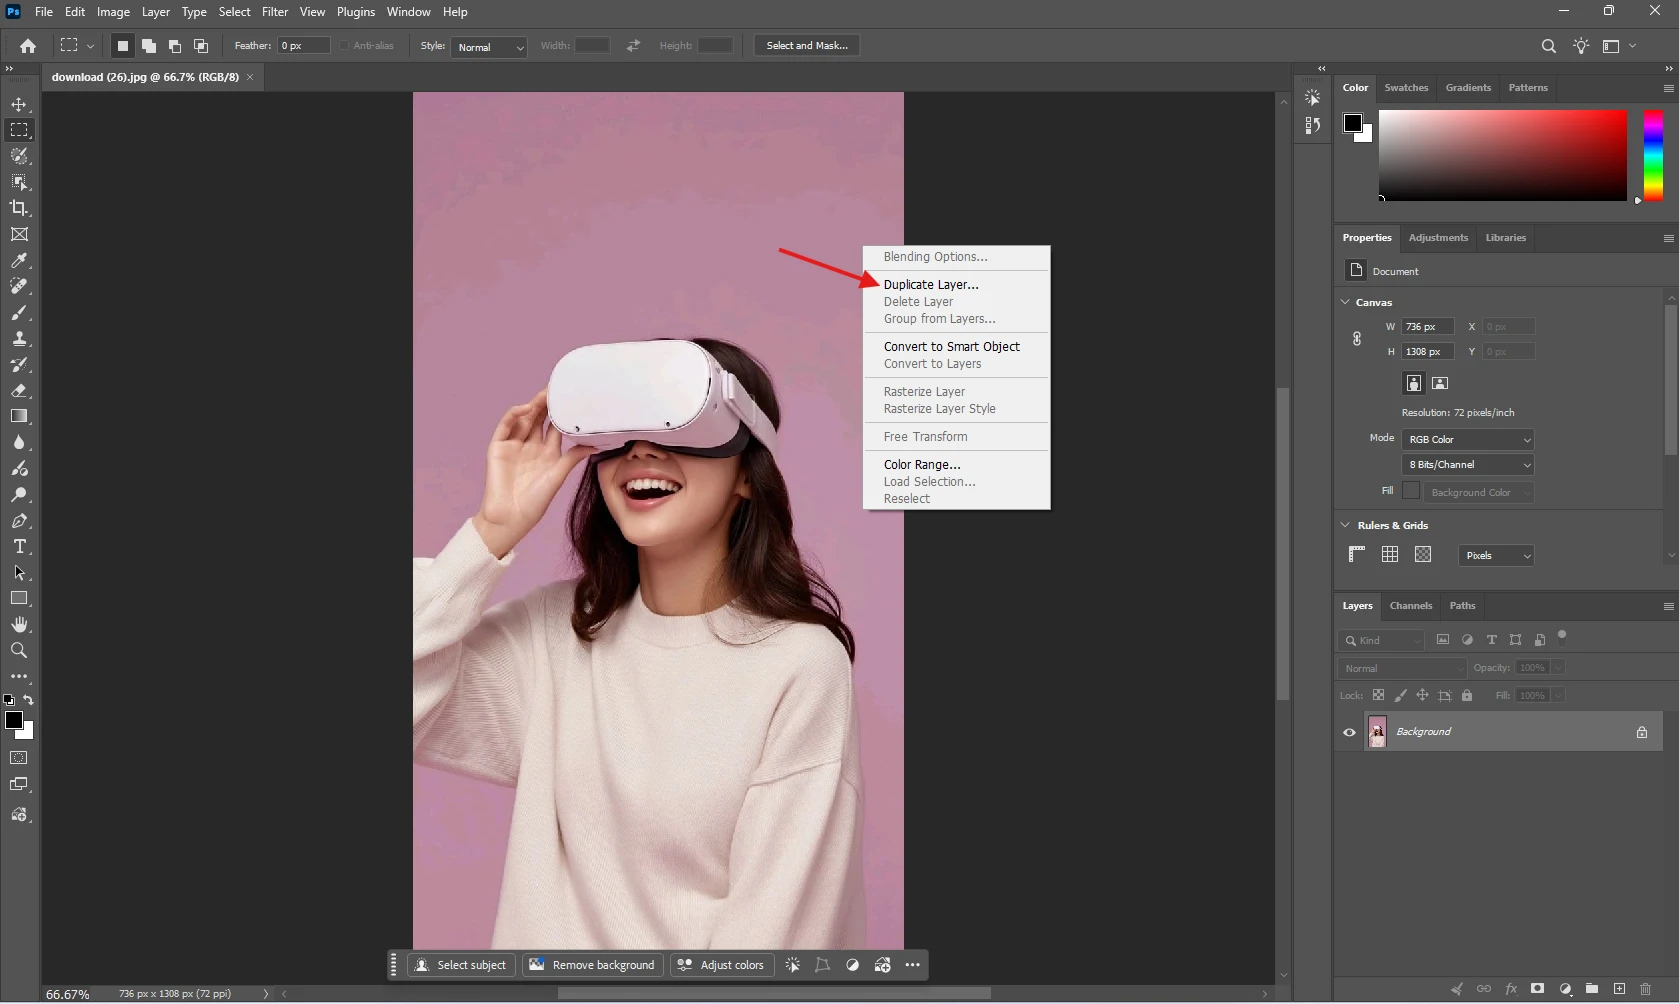
After opening the image in Photoshop (File > Open), it's worth duplicating the background layer first (right-click the layer in the Layers panel > Duplicate Layer). This keeps the original image untouched in case a selection needs to be redone from scratch.
Step 2 — Select the Subject
There are two common ways to remove background in Photoshop, depending on how much control is needed:
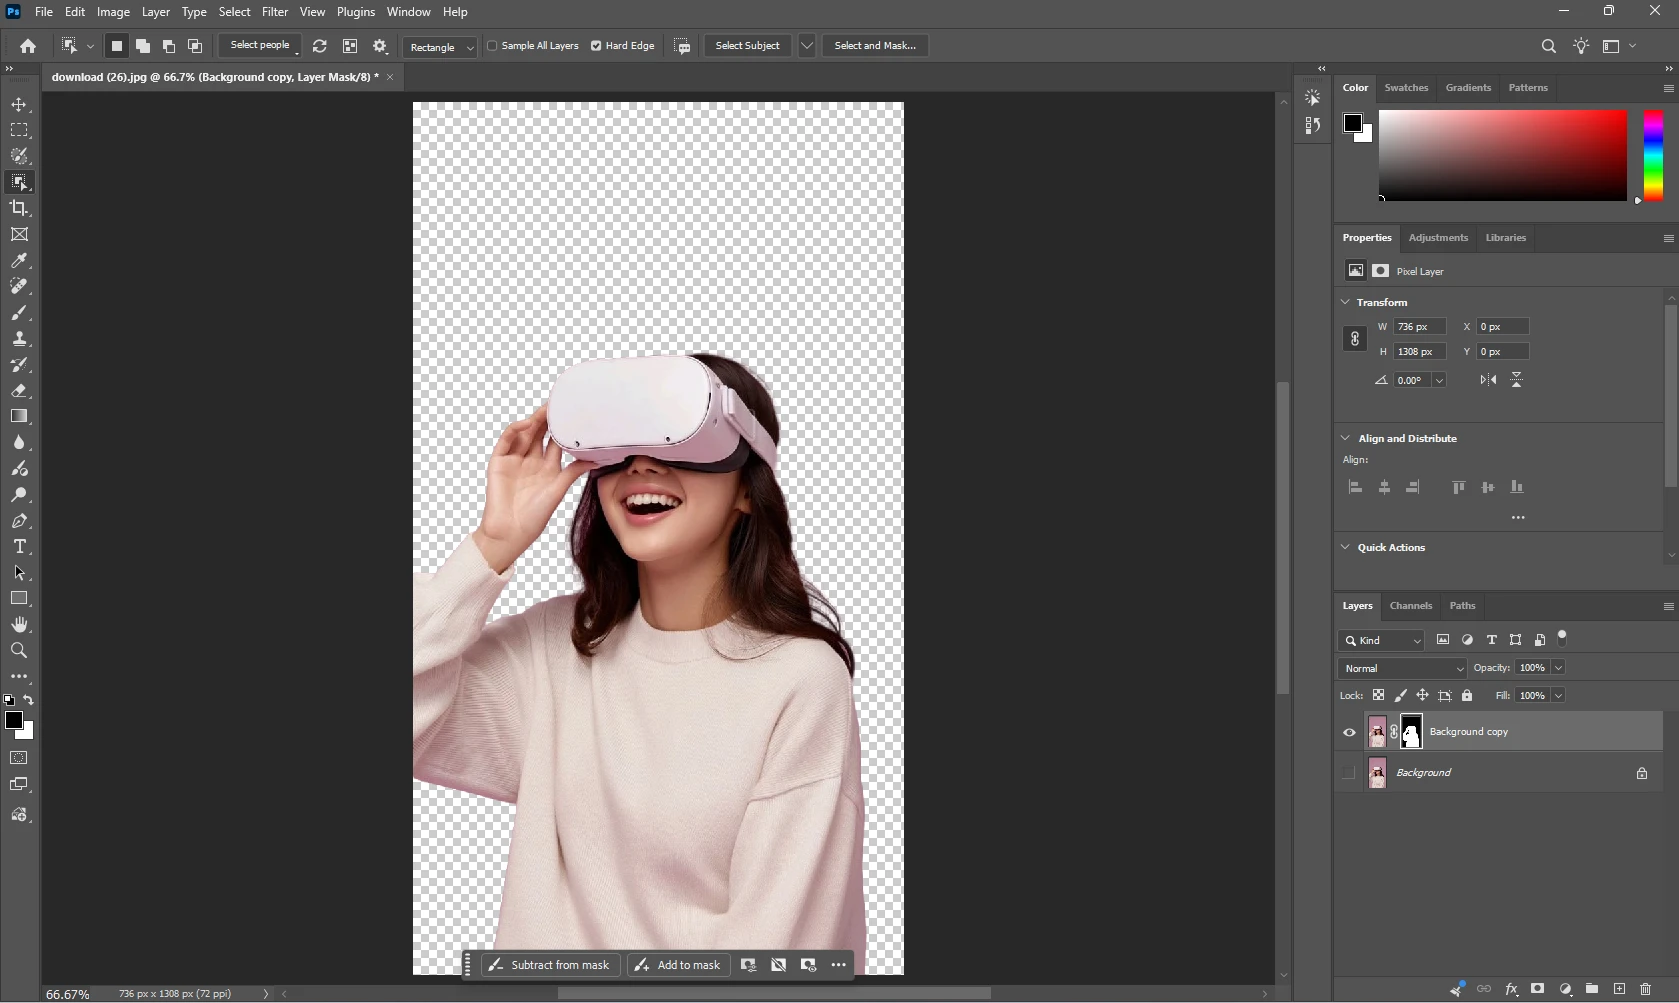
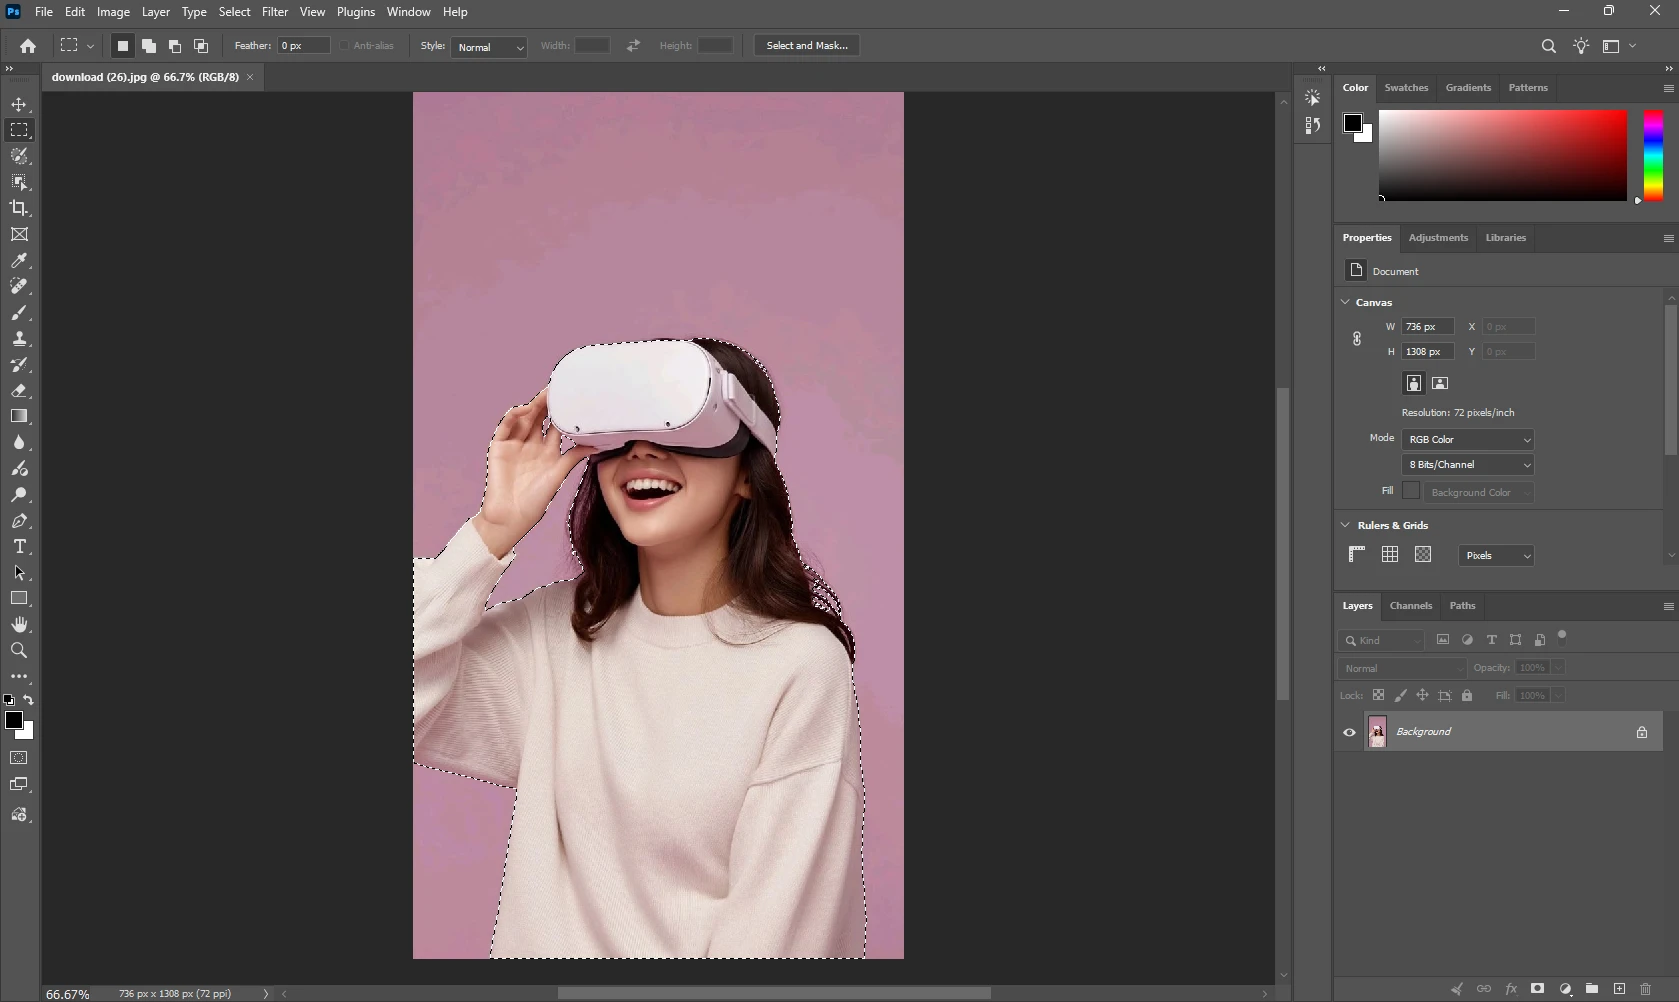
- Select Subject is Photoshop's AI-powered one-click option, found under Select > Subject. It automatically detects the main subject in the image and creates a selection around it — usually a strong starting point for people, products, and animals.
- Quick Selection Tool works well as a follow-up or alternative — clicking and dragging over the subject builds a selection based on color and texture similarity, and it's easy to add or subtract areas as needed.
For most photos, starting with Select Subject and refining with Quick Selection gives the cleanest result with the least manual work.
Step 3 — Refine the Selection Edge
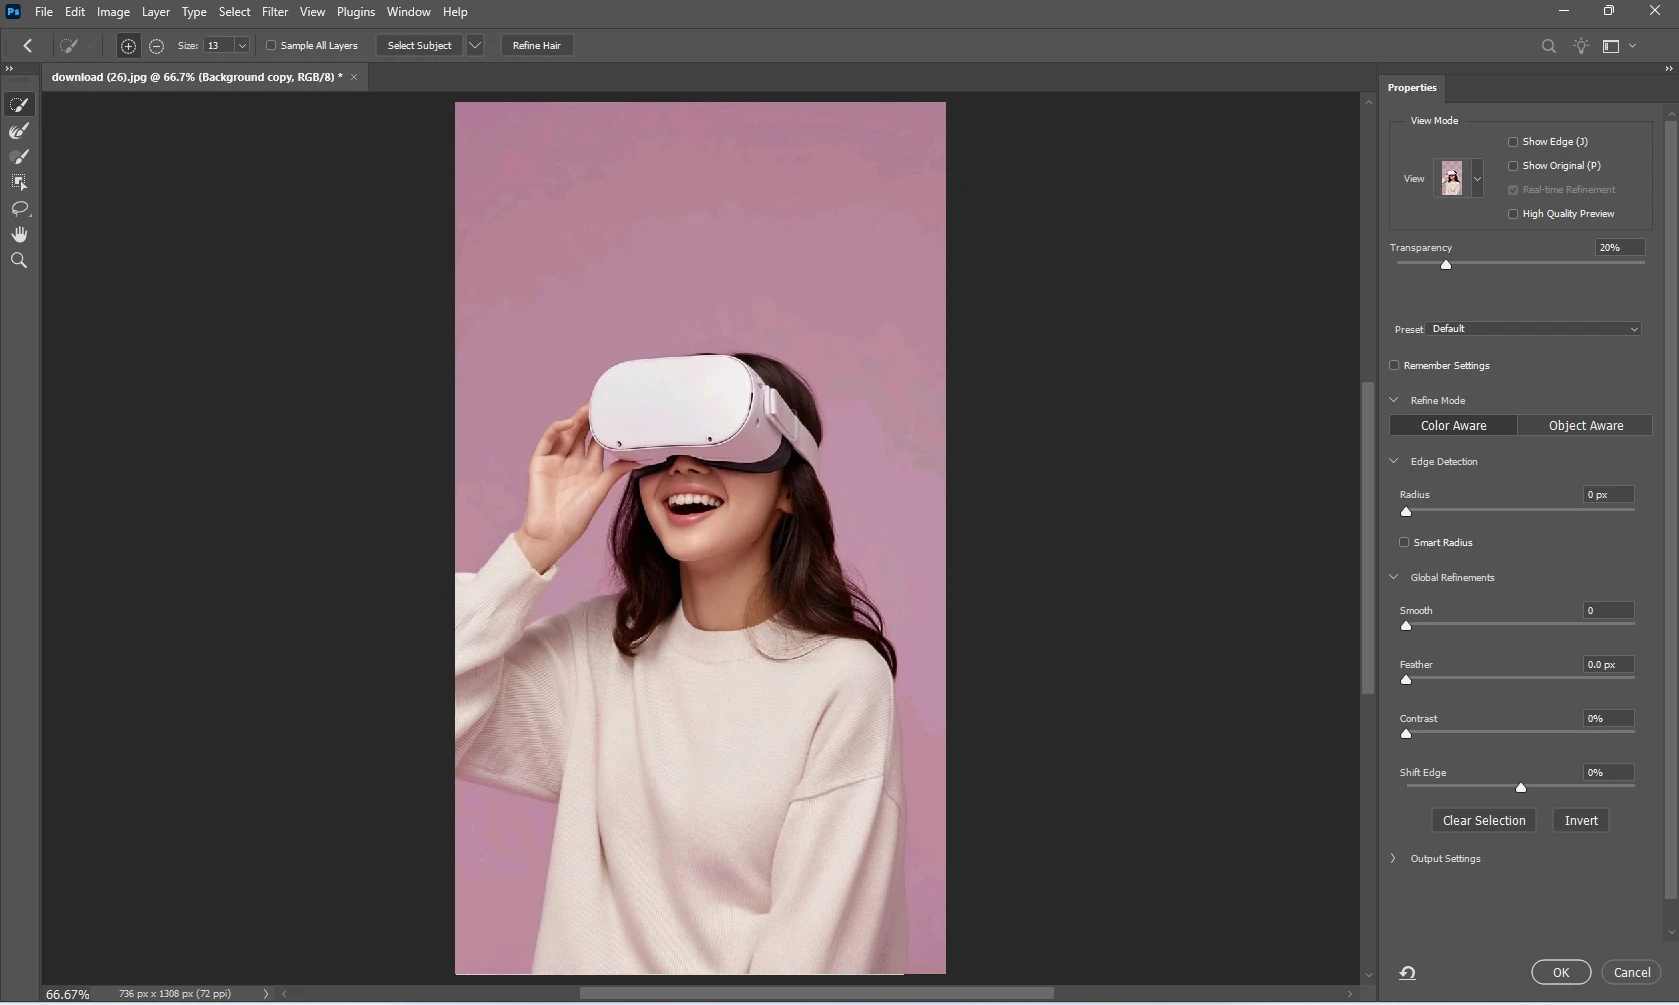
Once the initial selection is made, Select > Select and Mask opens a dedicated workspace for refining edges. The Refine Edge Brush is particularly useful around hair or fuzzy edges, and the Smooth, Feather, and Contrast sliders help remove any jagged or overly hard lines. This step is where most of the difference between an amateur cutout and a professional-looking one comes from.
Step 4 — Add a Layer Mask
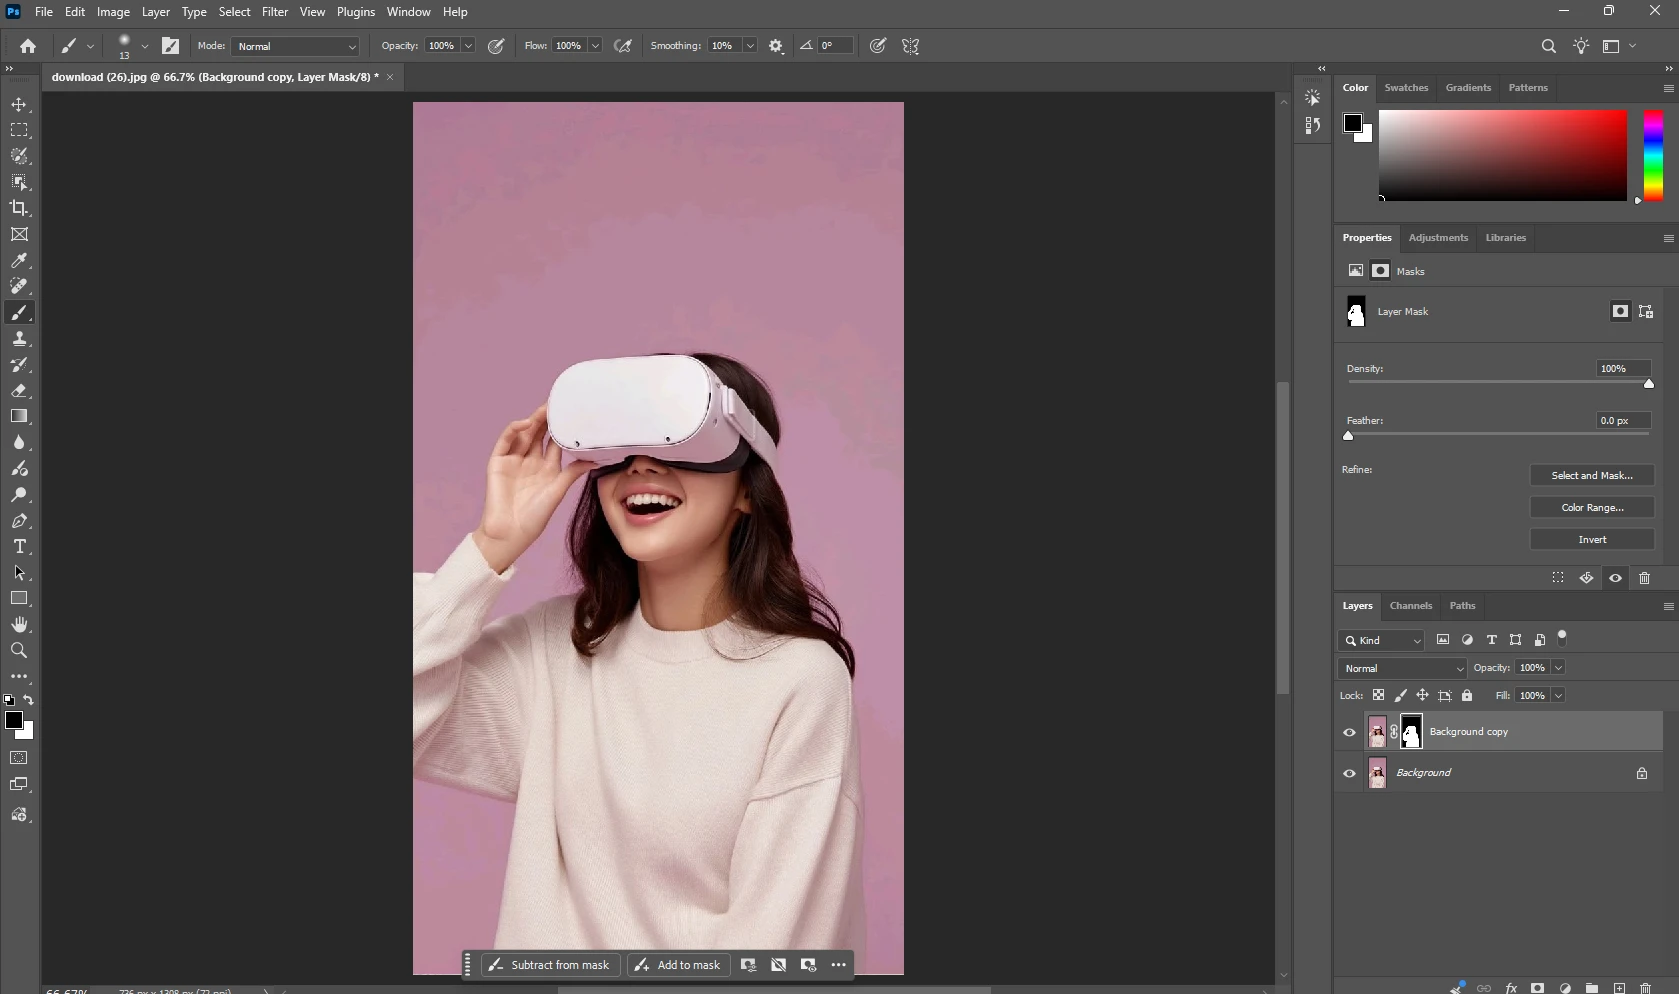
Rather than deleting the background outright, Photoshop's standard workflow is to add a layer mask (Layer > Layer Mask > Reveal Selection, or the mask icon at the bottom of the Layers panel). This hides the background non-destructively — meaning the original pixels are preserved and the mask can be adjusted or undone at any time without starting over.
Step 5 — Export as PNG
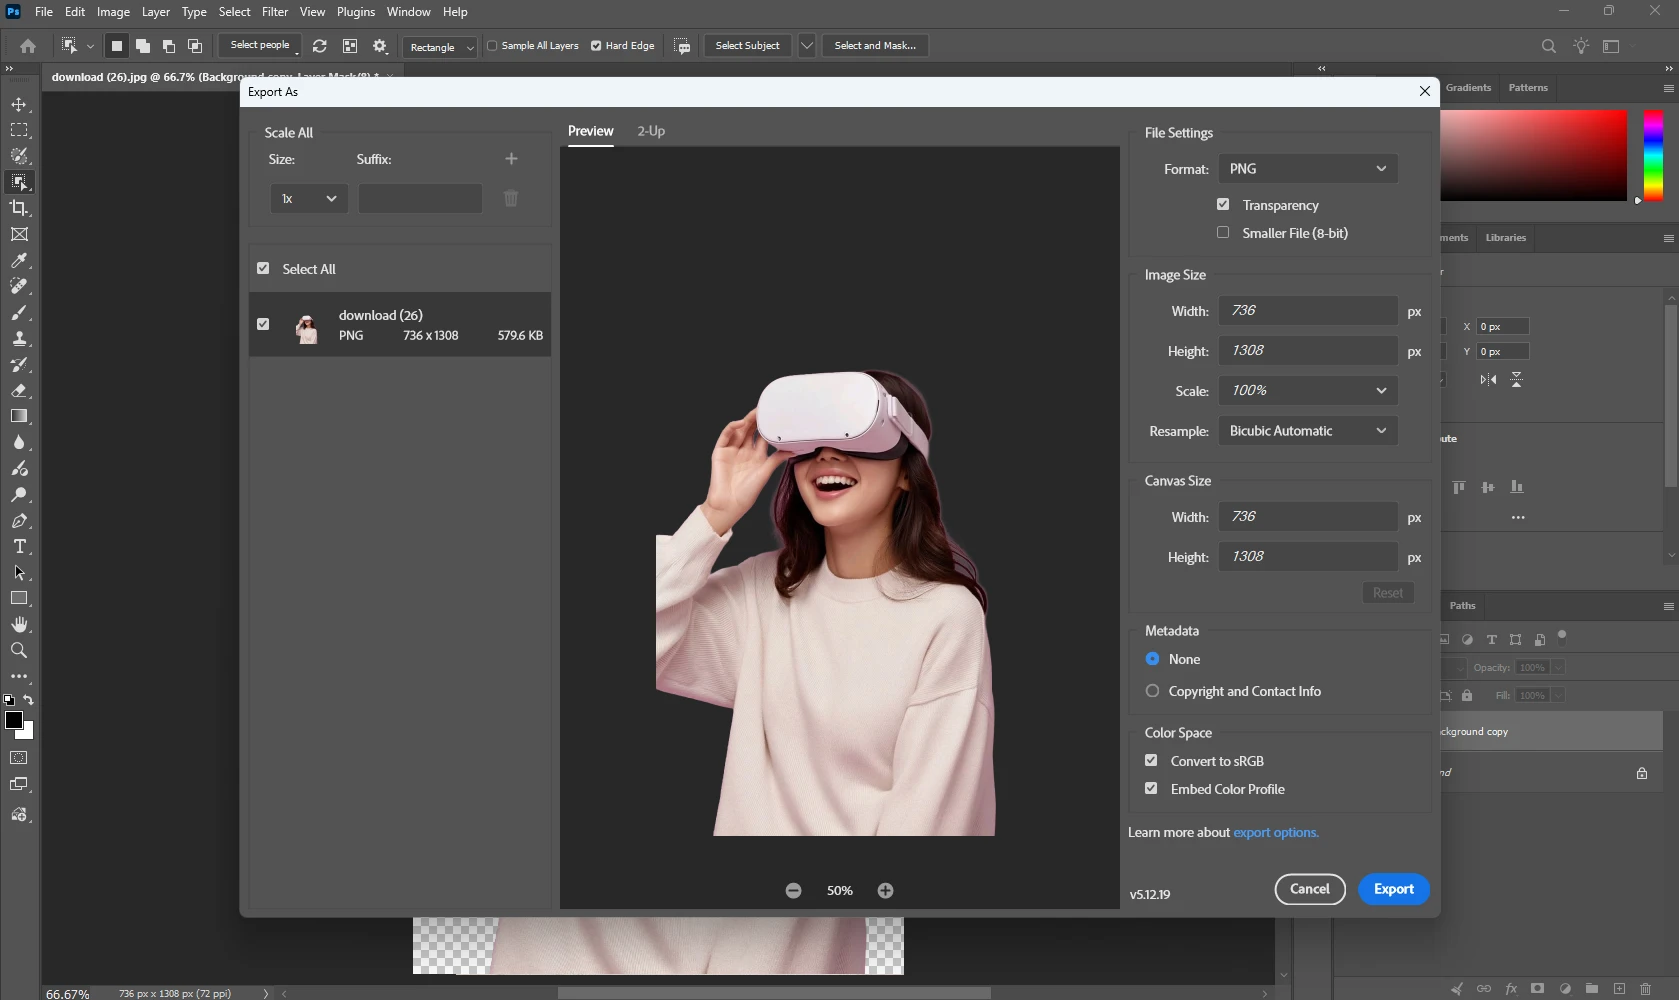
JPEG doesn't support transparency, so the final image needs to be exported as a PNG to keep the background transparent. This is done through File > Export > Export As, selecting PNG as the format.
Common Mistakes When Removing a Background in Photoshop
A few issues come up repeatedly for people working through this process:
- Deleting the background layer directly instead of using a layer mask, which makes the edit destructive and harder to fix later.
- Skipping Select and Mask, leaving a rough, pixelated edge — especially noticeable around hair.
- Exporting as JPEG instead of PNG, which silently flattens the transparency that was just created.
- Forgetting to hide the original background layer before exporting — if a duplicate layer was masked but the original layer underneath is still visible, the export will still show a solid background instead of transparency.
- Relying only on Select Subject for complex images, when a quick pass with Quick Selection or the Refine Edge Brush would clean up the parts the AI missed.
A Faster Alternative When There's No Time for Photoshop
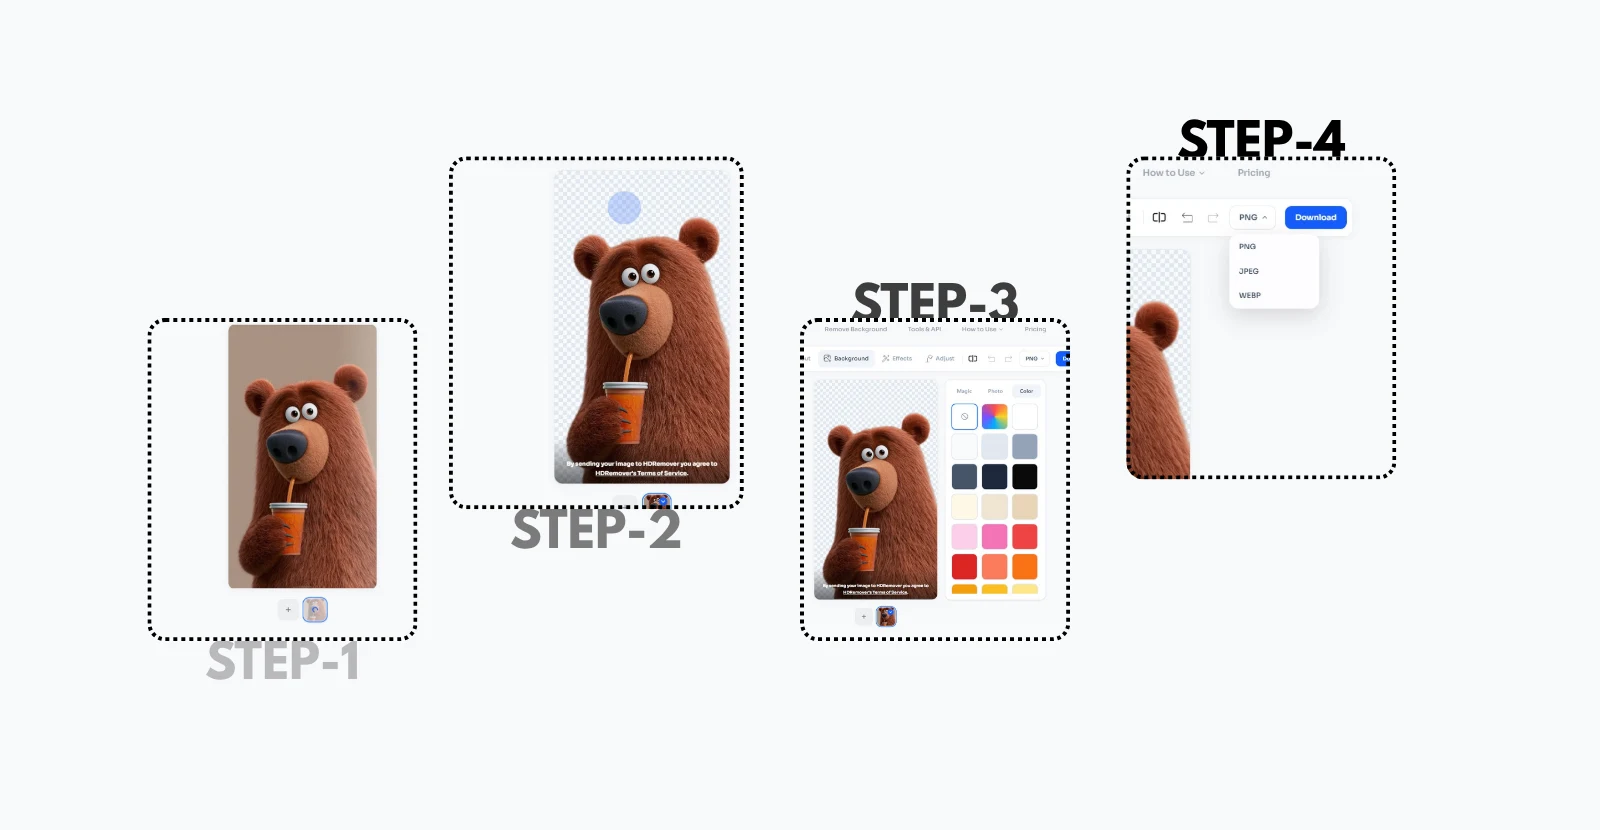
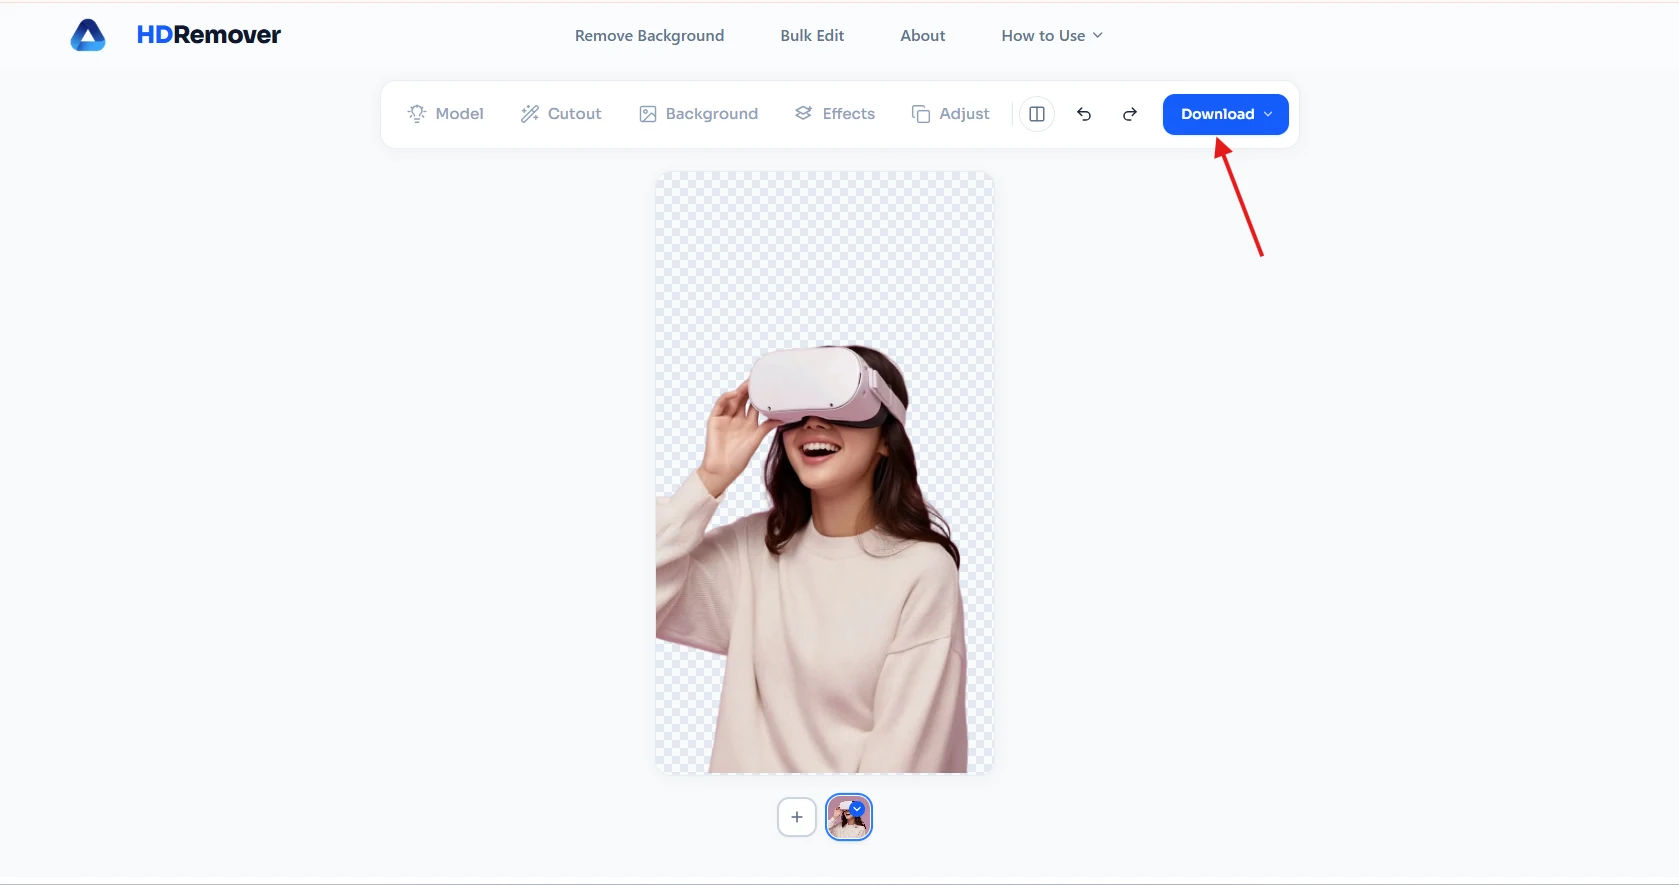
The steps above work well, but they typically take several minutes per image — longer for anyone still learning where Photoshop's tools live, and Photoshop itself is a paid subscription. For a single photo or a batch of product images, tools like HDRemover handle the same task in seconds: upload an image, and the background is removed automatically using AI, with no manual selection, no layer masks, and no software to install. It's free, doesn't require an account, and produces a transparent PNG ready to download immediately — useful for anyone who needs results now rather than a Photoshop subscription.
Frequently Asked Questions
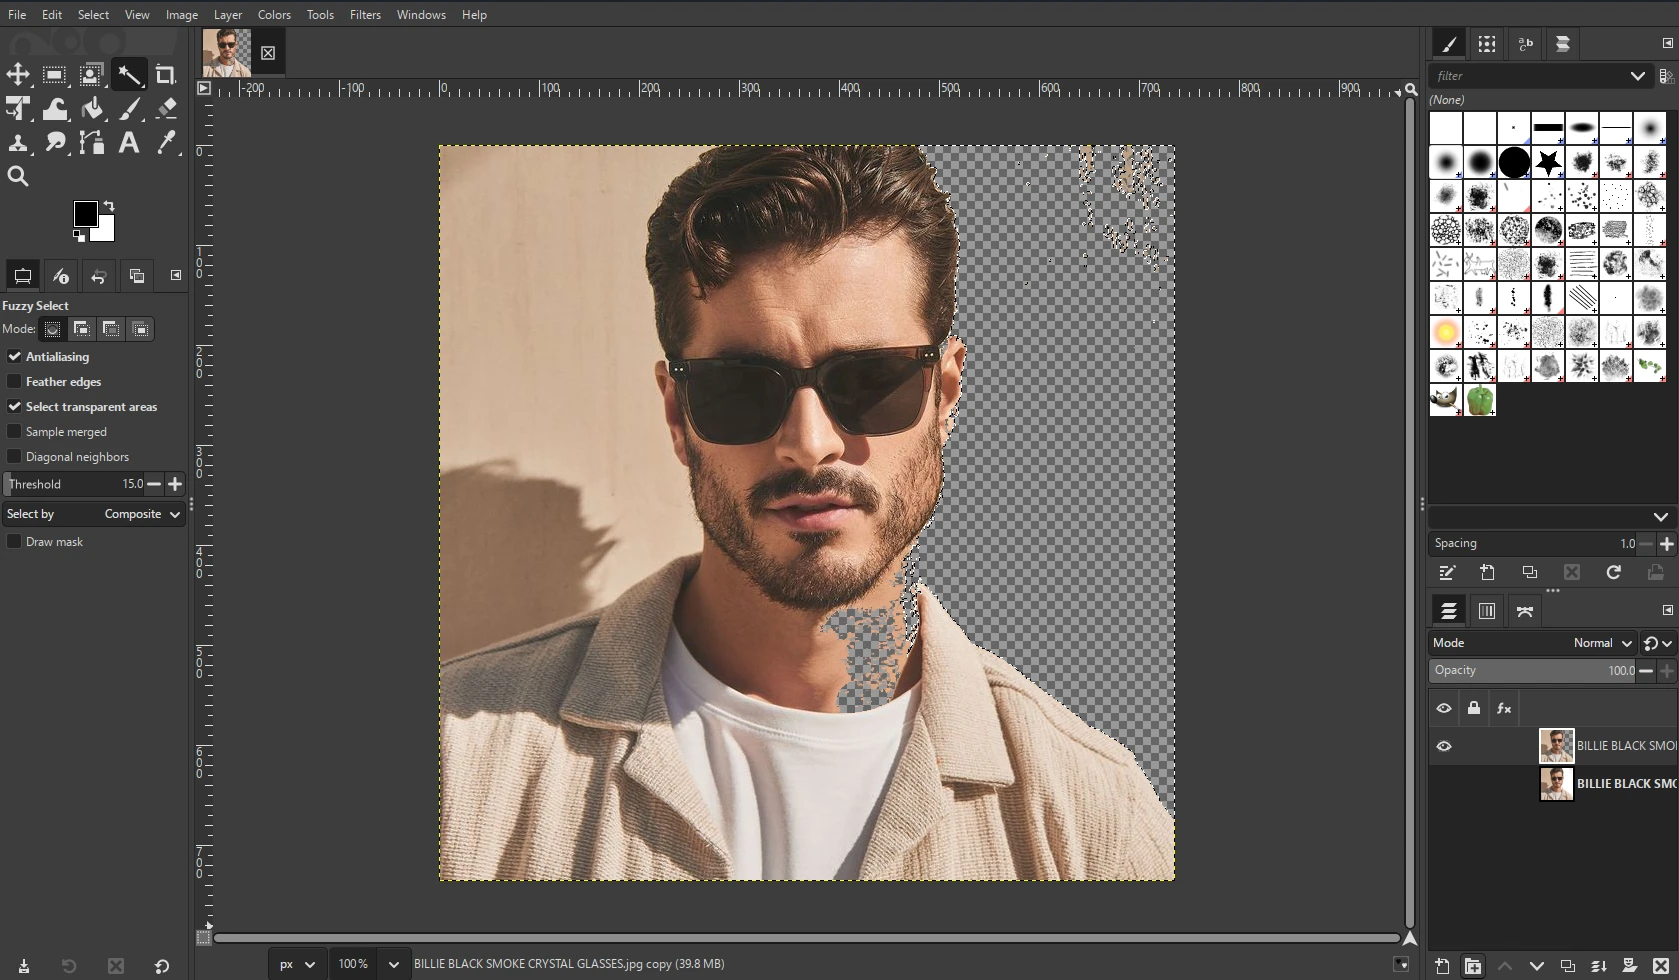
Do I need the paid version of Photoshop to remove a background? Yes — Photoshop is subscription-only through Adobe Creative Cloud, unlike free tools such as GIMP or AI-based background removers.
Why does my exported image still have a white background instead of transparency? This almost always means the file was exported as a JPEG instead of a PNG, or the original background layer was still visible (not hidden) at export time.
Is Select Subject always accurate? It's reliable for clear, well-lit photos with an obvious subject, but busy backgrounds or low contrast often still need manual refinement with Quick Selection or the Refine Edge Brush.