Removing a background in GIMP is completely free, but it isn't always intuitive if you've never used the tool before. In this guide, we'll walk you through exactly how to remove background in GIMP using the Fuzzy Select and Paths tools, step by step, with no prior editing experience required. By the end, you'll know how to isolate any subject cleanly and export it with a transparent background. We'll also show you a faster alternative for when you just need a quick result without opening any software at all.
What's Needed Before Starting
GIMP is free and available for Windows, Mac, and Linux, so no purchase is required to follow along. Before diving into how to remove background in GIMP, it helps to have the source image saved locally and, ideally, a subject with reasonably clear edges hair, fur, and busy backgrounds tend to make manual selection slower. A basic version of GIMP (2.10 or later) is recommended, since older releases handle selection tools differently.
Step-by-Step: How to Remove Background in GIMP
Step 1 , Open the Image and Duplicate the Layer
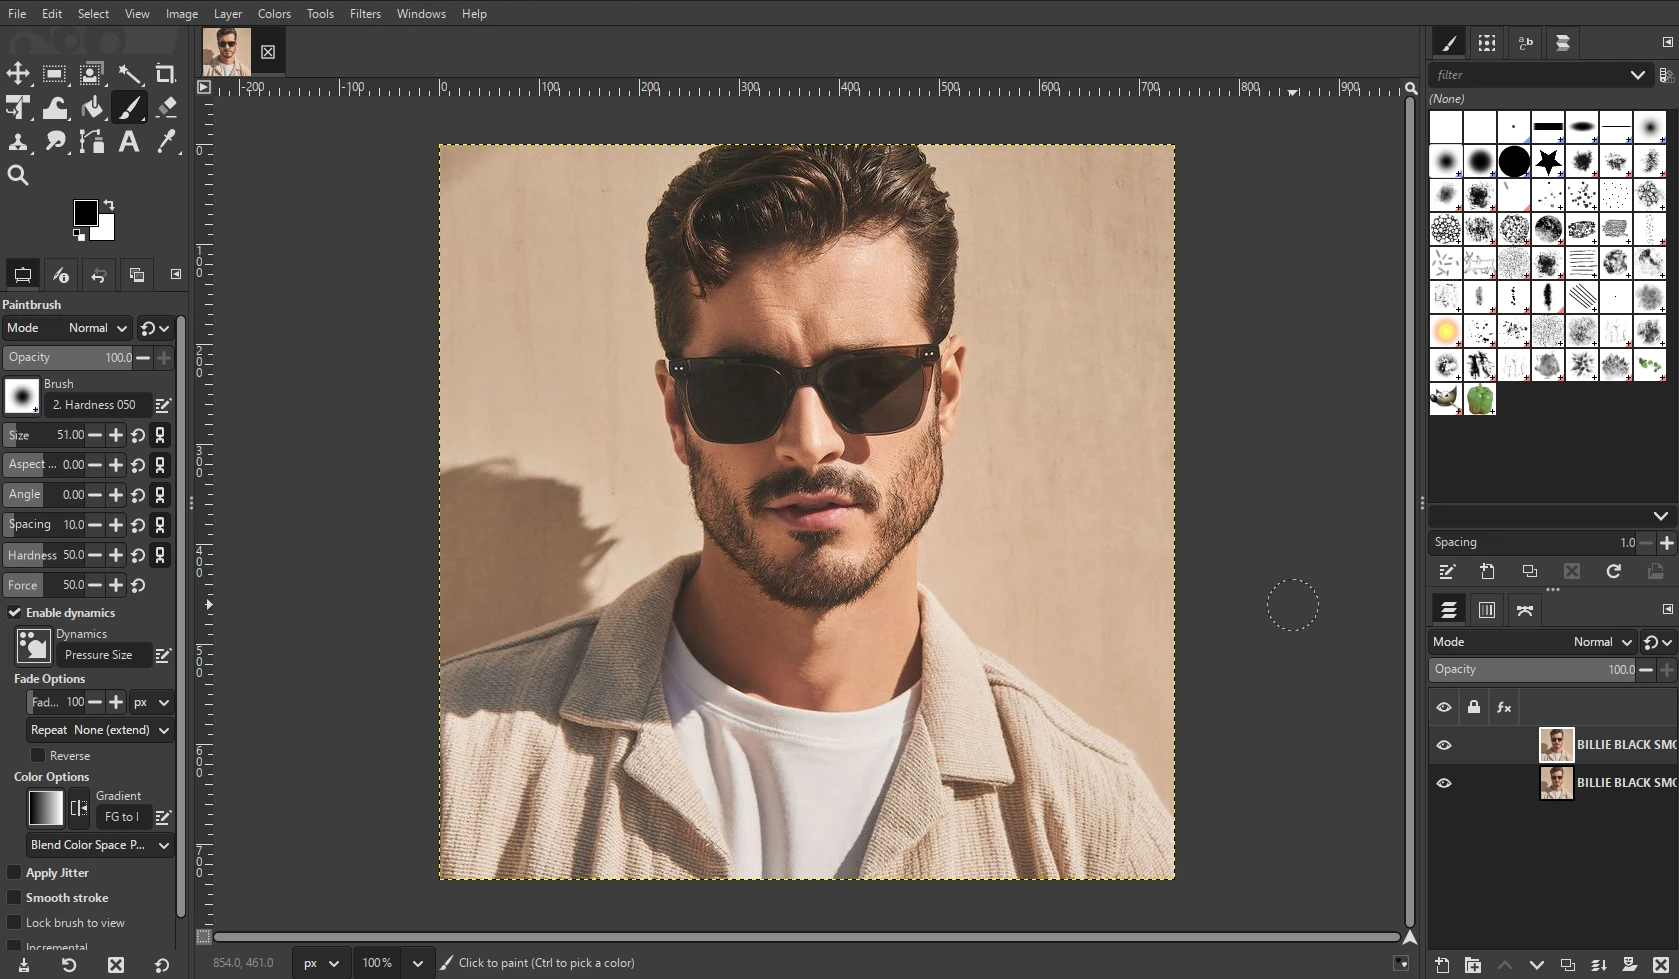
After launching GIMP, the image should be opened via File > Open. Before making any selections, it's worth duplicating the layer (Layer > Duplicate Layer). This keeps the original image untouched in case a selection needs to be redone from scratch.
Step 2 , Select the Subject Using Fuzzy Select or Paths
There are two common ways to remove background in GIMP, depending on how complex the image is:
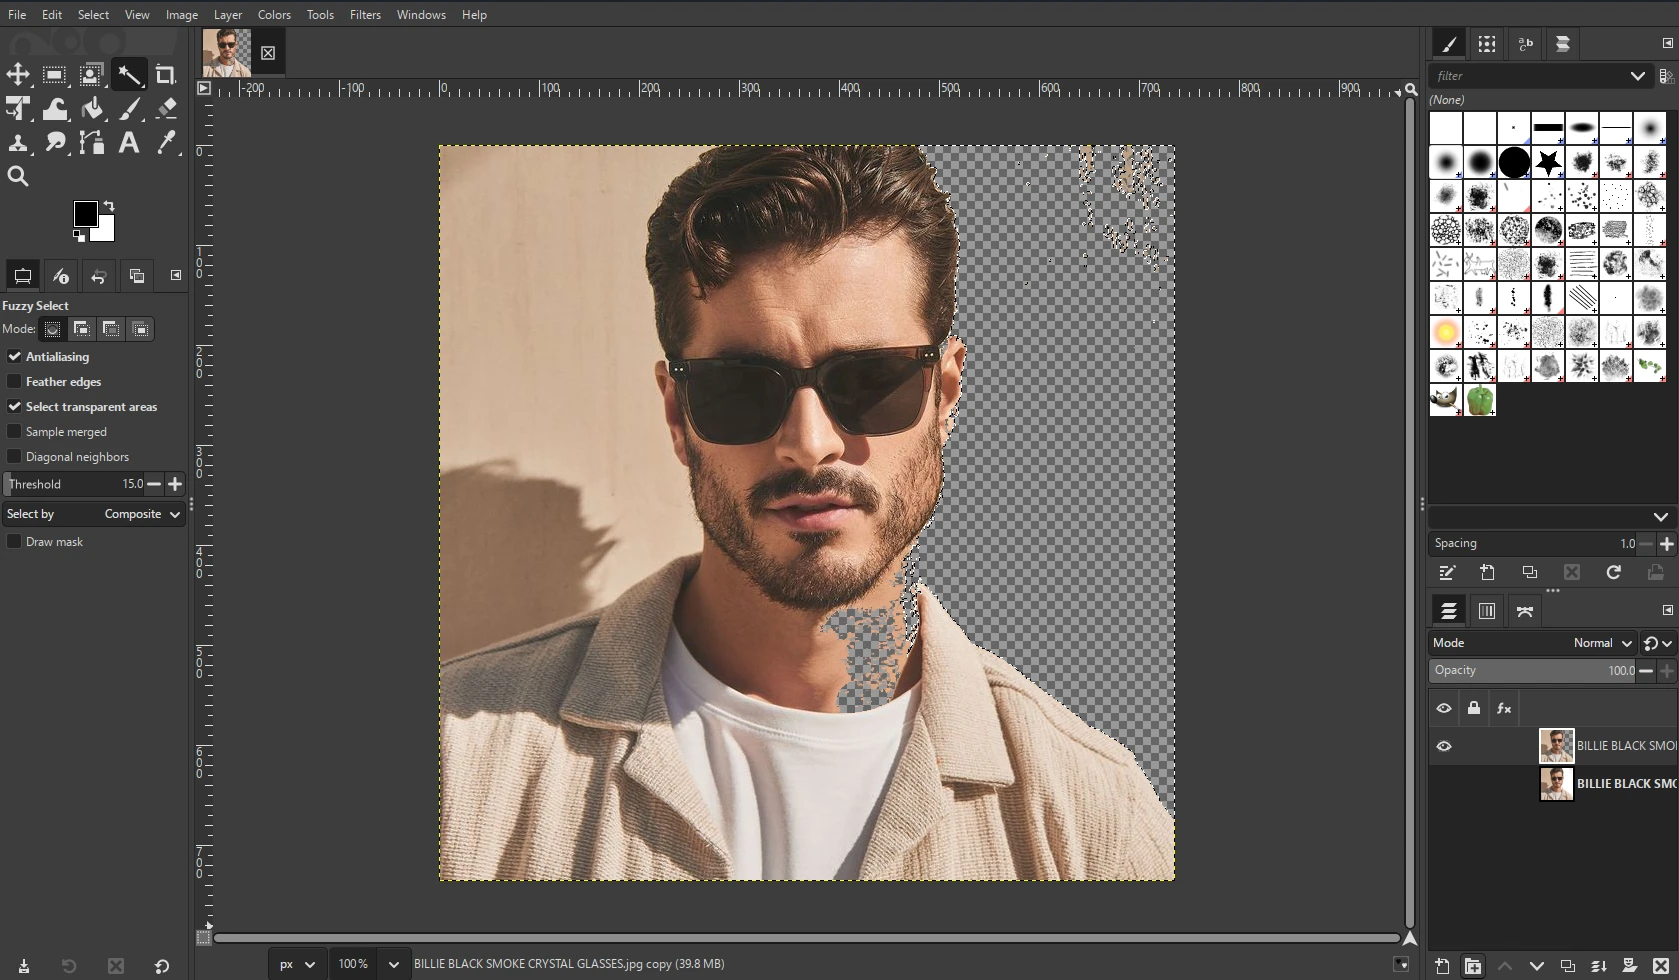
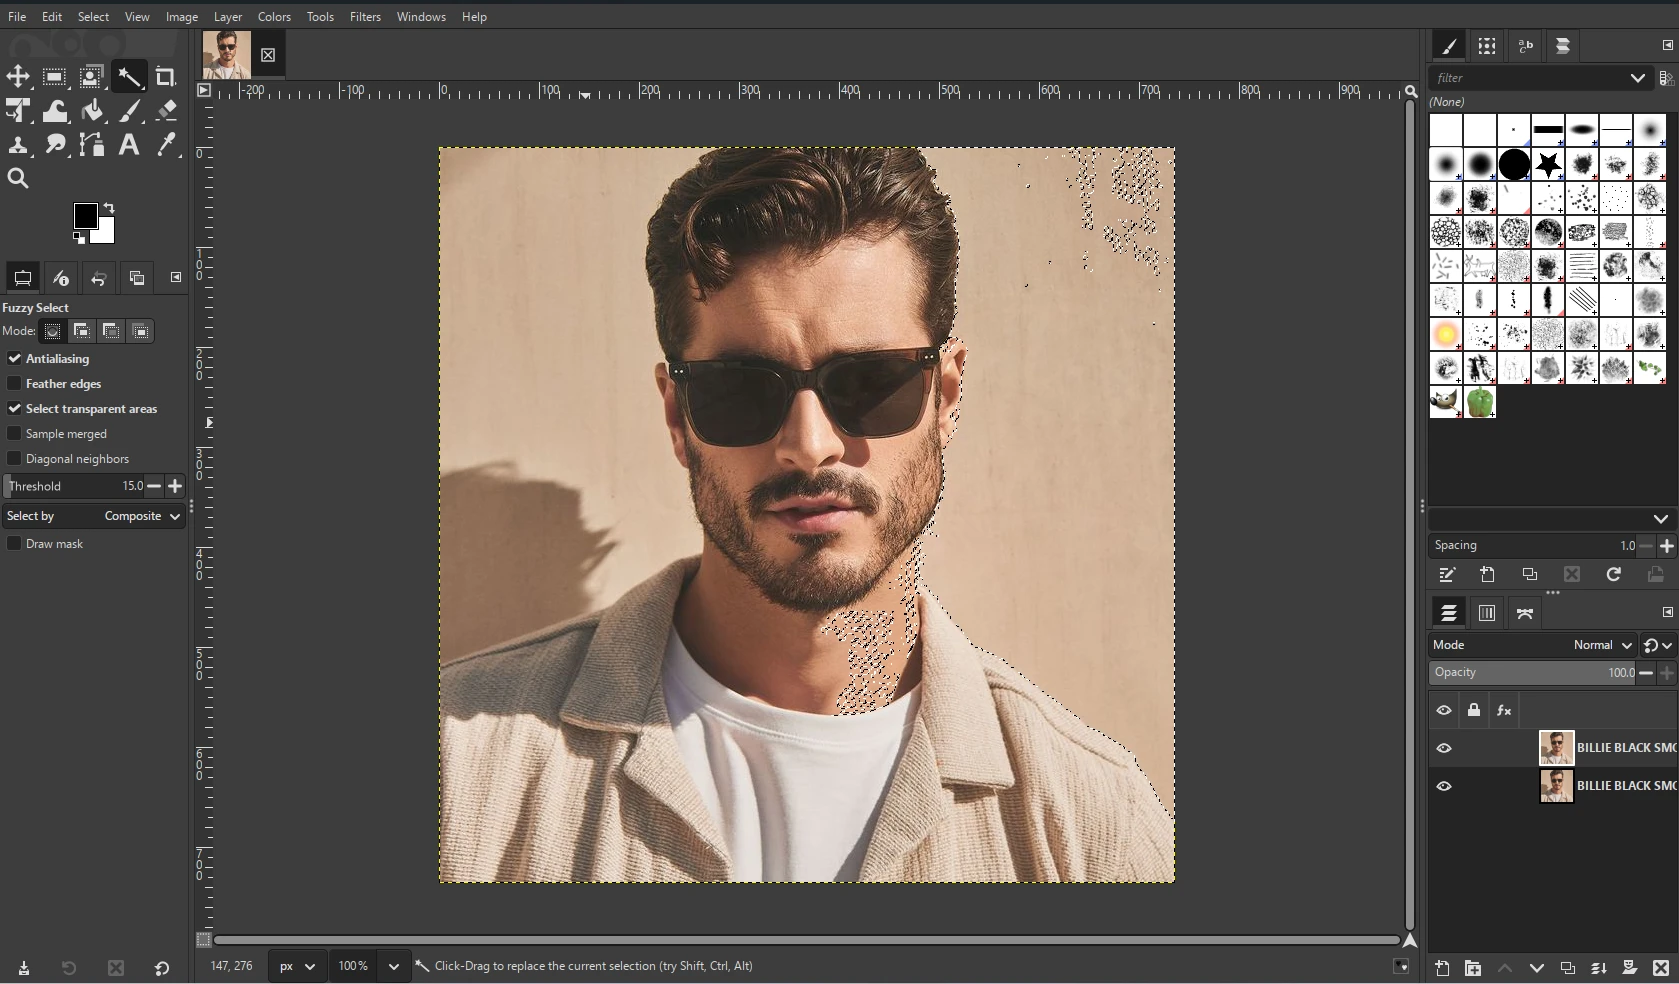
- Fuzzy Select (Magic Wand) works well for images with a solid, high-contrast background. Clicking on the background selects all connected pixels of a similar color, which can then be deleted directly.
- Paths Tool is better suited to subjects with irregular edges. It allows points to be placed manually around the subject's outline, which is slower but far more precise especially useful when the background and subject share similar colors.
For most product photos or simple portraits, Fuzzy Select is usually enough. For anything with fine detail, the Paths tool tends to give a cleaner result.
Step 3 , Refine the Selection
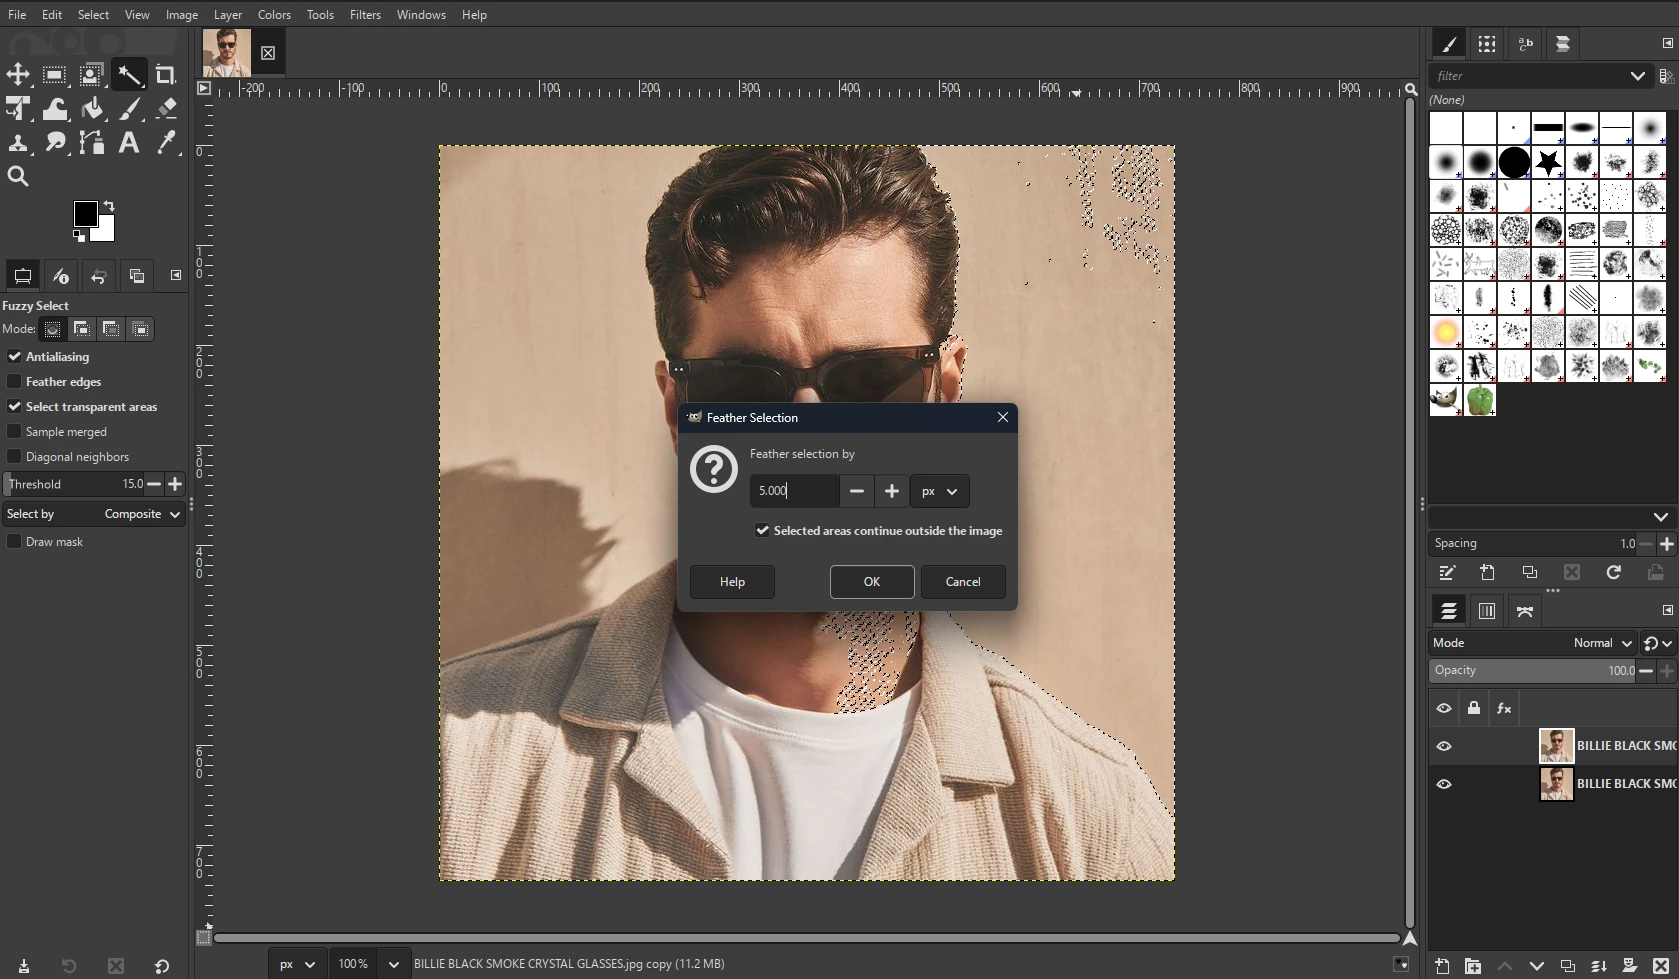
Once the initial selection is made, GIMP's Select menu offers a "Feather" option, which softens the selection edges to avoid a harsh, cut-out look. The "Shrink" or "Grow" options can also help tighten a selection that's slightly off. This step is where most of the quality difference between a rough cutout and a professional-looking one comes from.
Step 4 , Delete the Background and Add Transparency
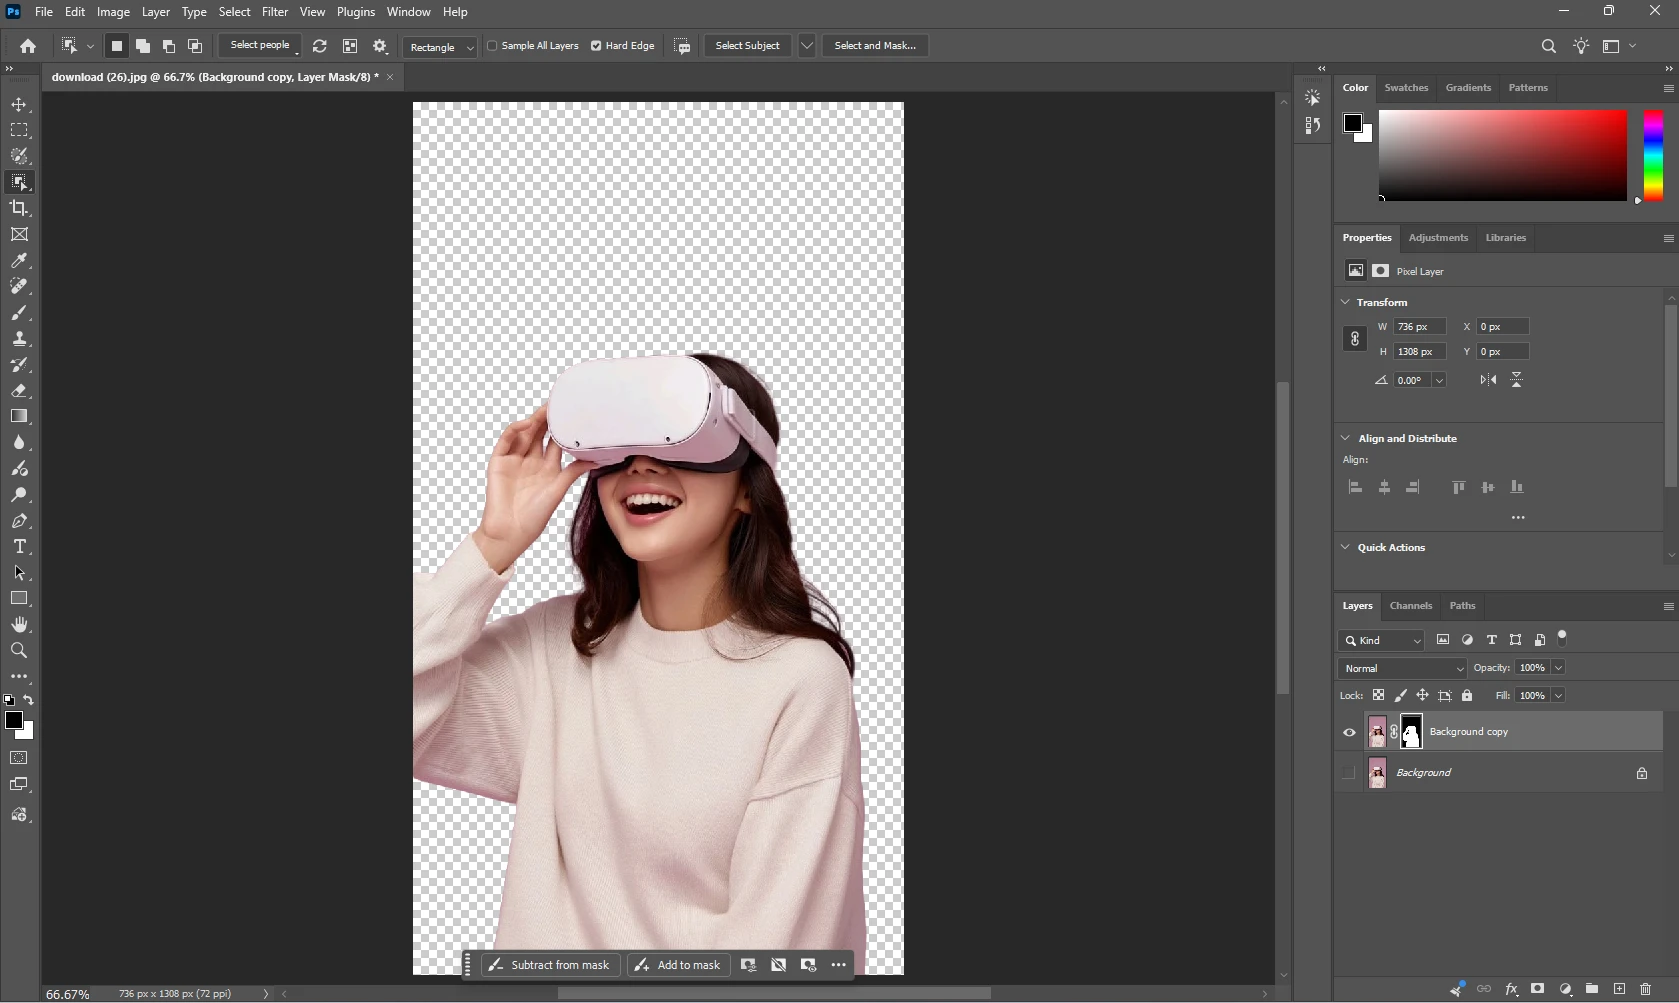
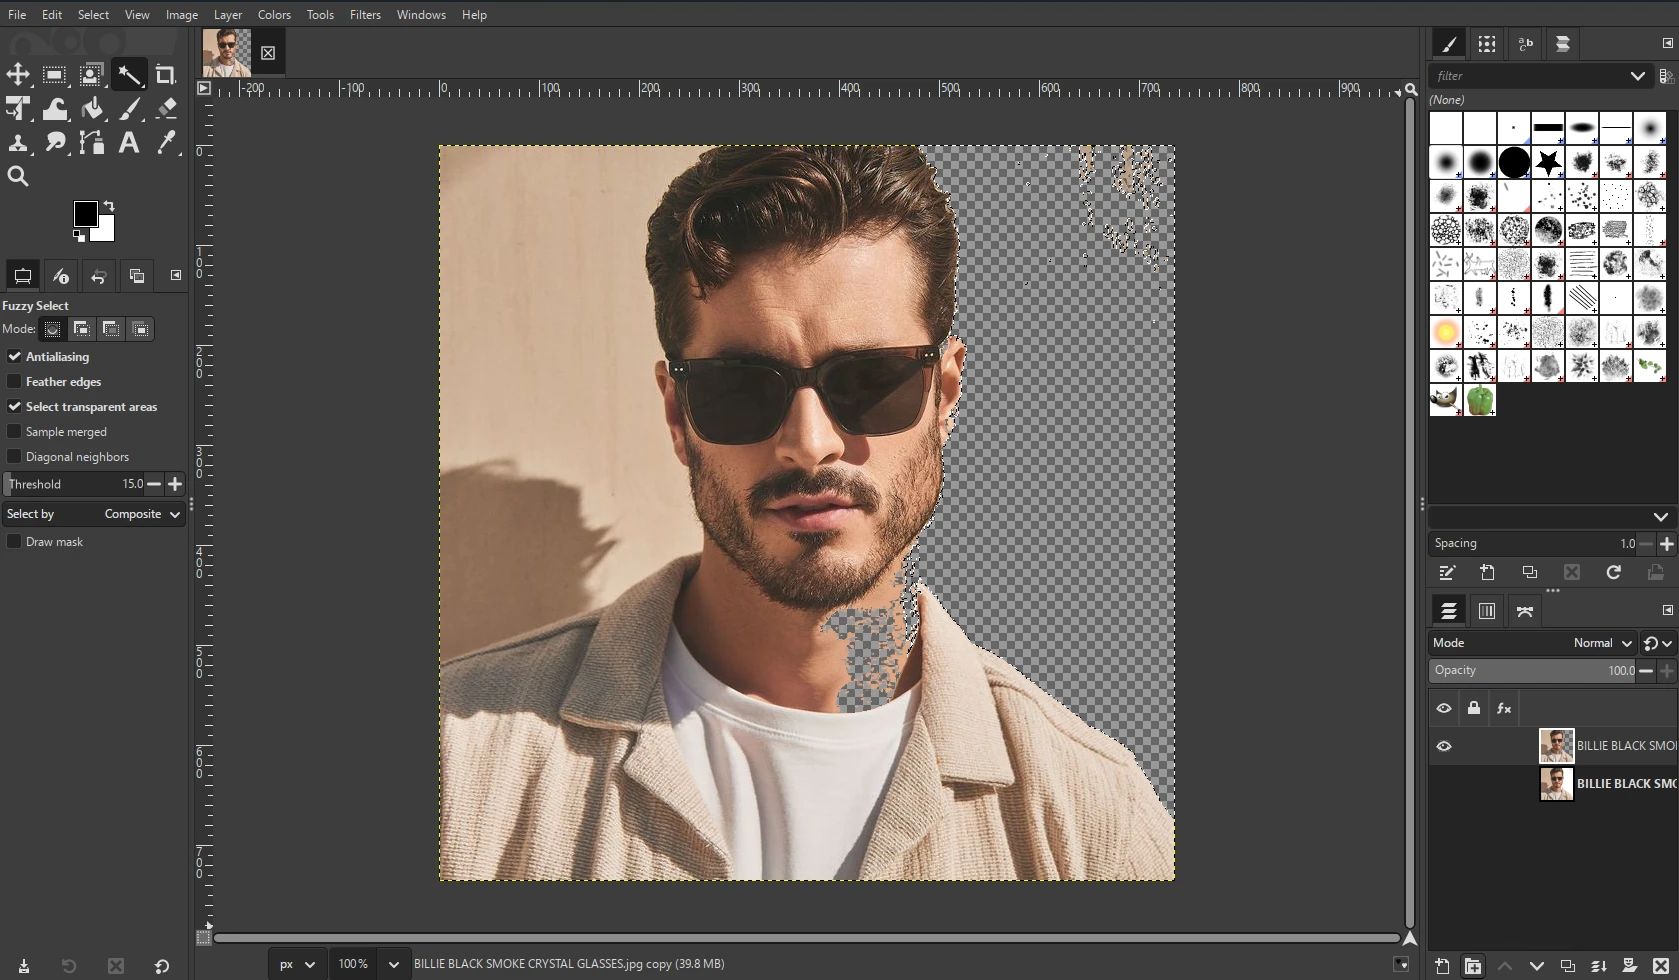
With the subject fully selected, the next step is to invert the selection (Select > Invert) so the background not the subject is highlighted. Before deleting anything, the layer needs an alpha channel added (Layer > Transparency > Add Alpha Channel), otherwise GIMP will fill the deleted area with the background color instead of making it transparent. Pressing Delete at this point removes the background entirely.
Step 5 , Export as PNG
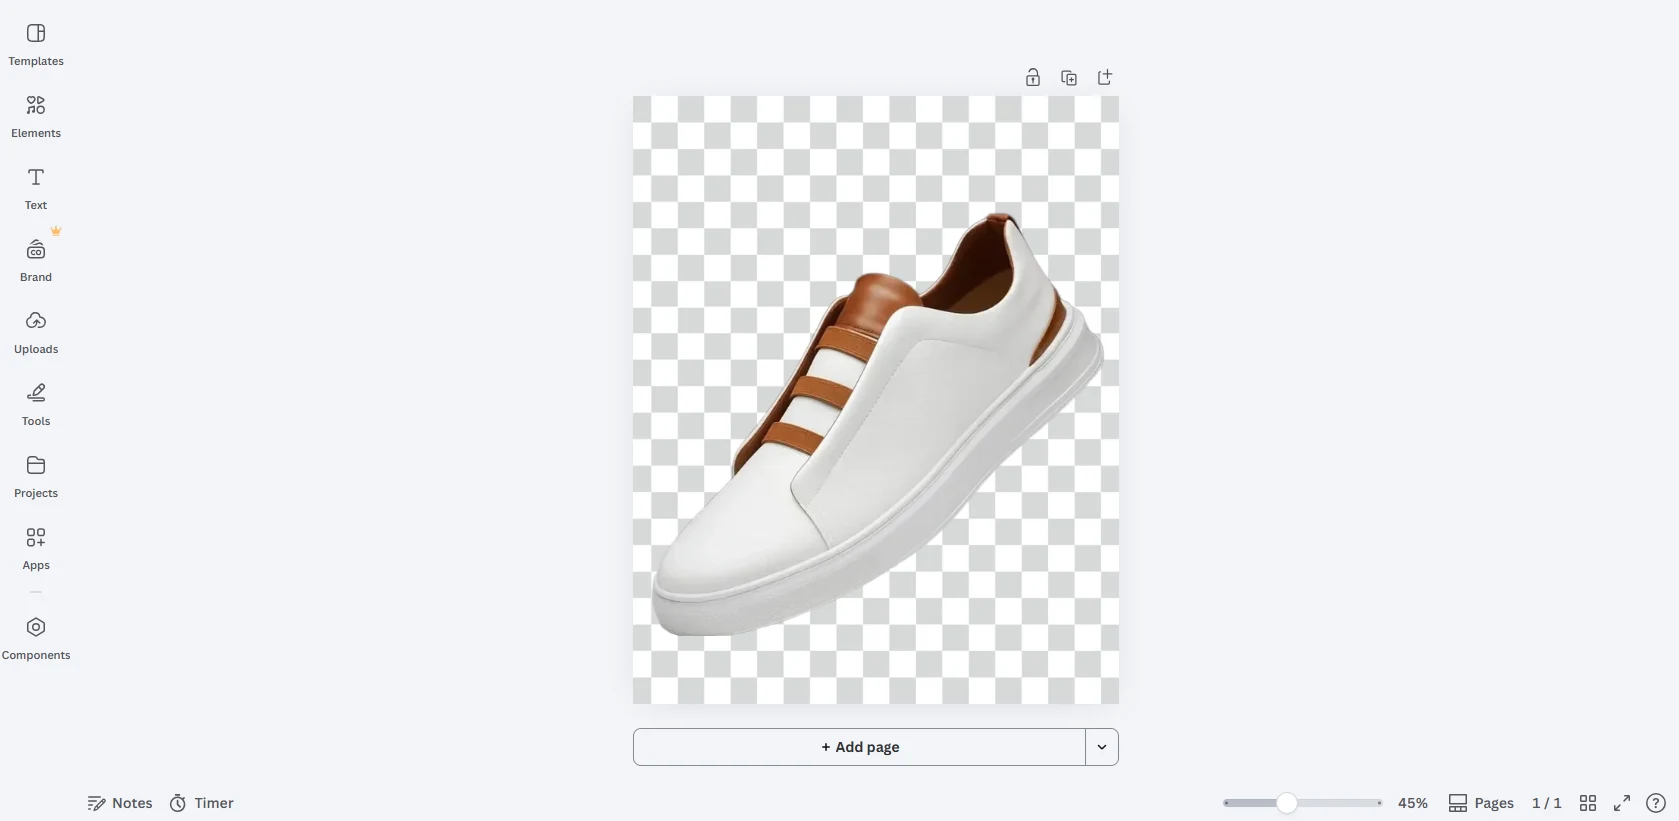
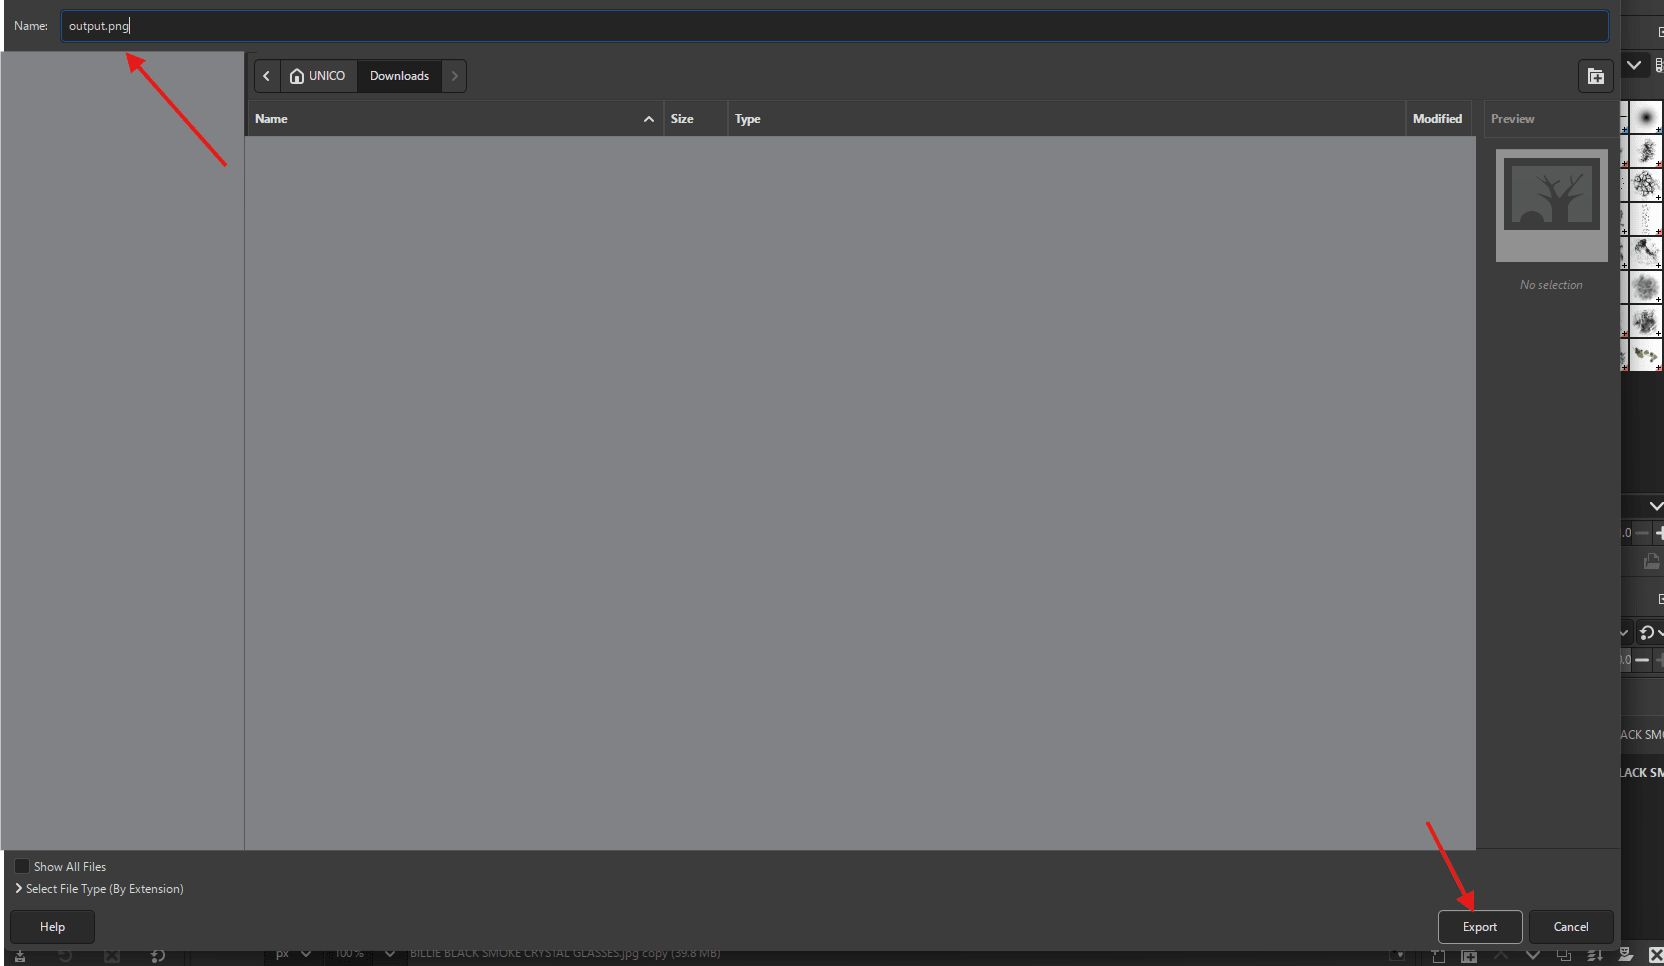
JPEG files don't support transparency, so the final image must be exported as a PNG to preserve the transparent background. This is done through File > Export As, then selecting .png as the file type.
Common Mistakes When Removing a Background in GIMP
A few issues come up repeatedly for beginners working through this process:
- Forgetting to add an alpha channel before deleting the background, which results in a solid color fill instead of transparency.
- Skipping the Feather step, leaving a jagged, pixelated edge around the subject.
- Exporting as JPEG instead of PNG, which silently removes the transparency that was just created.
- Using Fuzzy Select on a busy or gradient background, which tends to leave background fragments behind that need manual cleanup as seen in the selection above, where a shadowed wall left a few stray patches that needed a second pass.
A Faster Alternative When There's No Time for GIMP
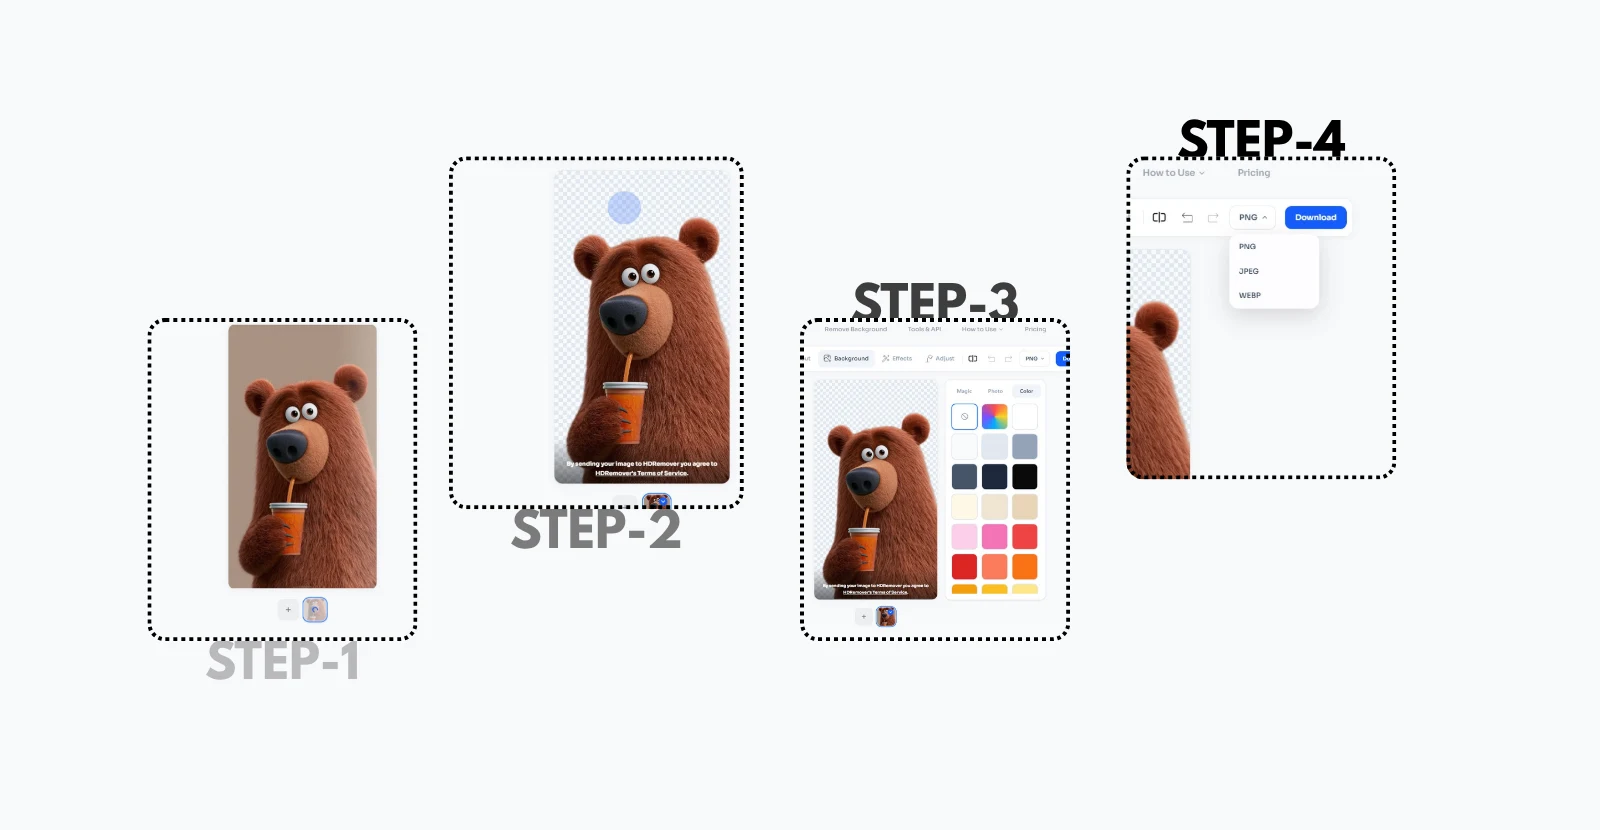
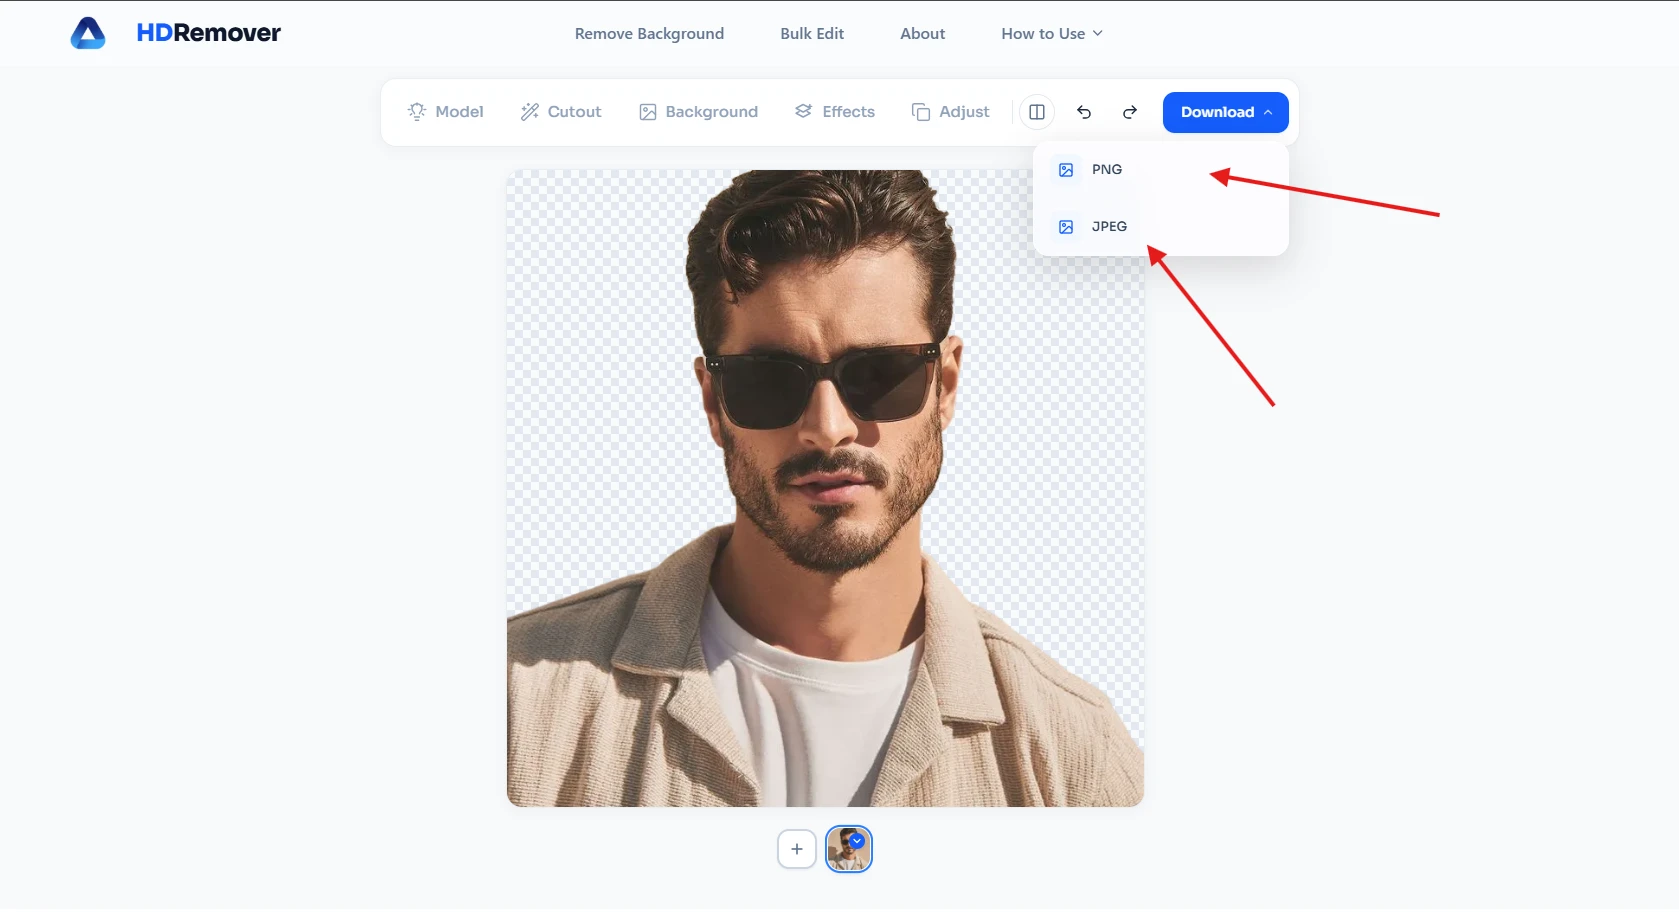
The steps above work well, but they typically take several minutes per image longer for anyone still learning where GIMP's tools are located. For a single photo or a batch of product images, tools like HDRemover handle the same task in seconds: upload an image, and the background is removed automatically using AI, with no manual selection required. It's free, doesn't require an account, and produces a transparent PNG ready to download immediately useful for anyone who needs results now rather than a new skill to practice.
Frequently Asked Questions
Is GIMP completely free to use? Yes, GIMP is free and open-source, with no paid tiers or watermarks on exported images.
Why does my exported image still have a white background instead of transparency? This almost always means the file was exported as a JPEG instead of a PNG, or the alpha channel step was skipped before deleting the background.
Can GIMP remove backgrounds automatically, like AI tools do? Not natively GIMP relies on manual selection tools. Some plugins add semi-automatic selection, but for a fully automatic result, a dedicated AI background remover is faster.